
Studio workflow
C-Stand Setup Checklist for a Cleaner, Safer Set
A repeatable C-stand setup is a sequence, not a last-minute tightening pass. Work through the room, stand, accessory, and cable checks in order.
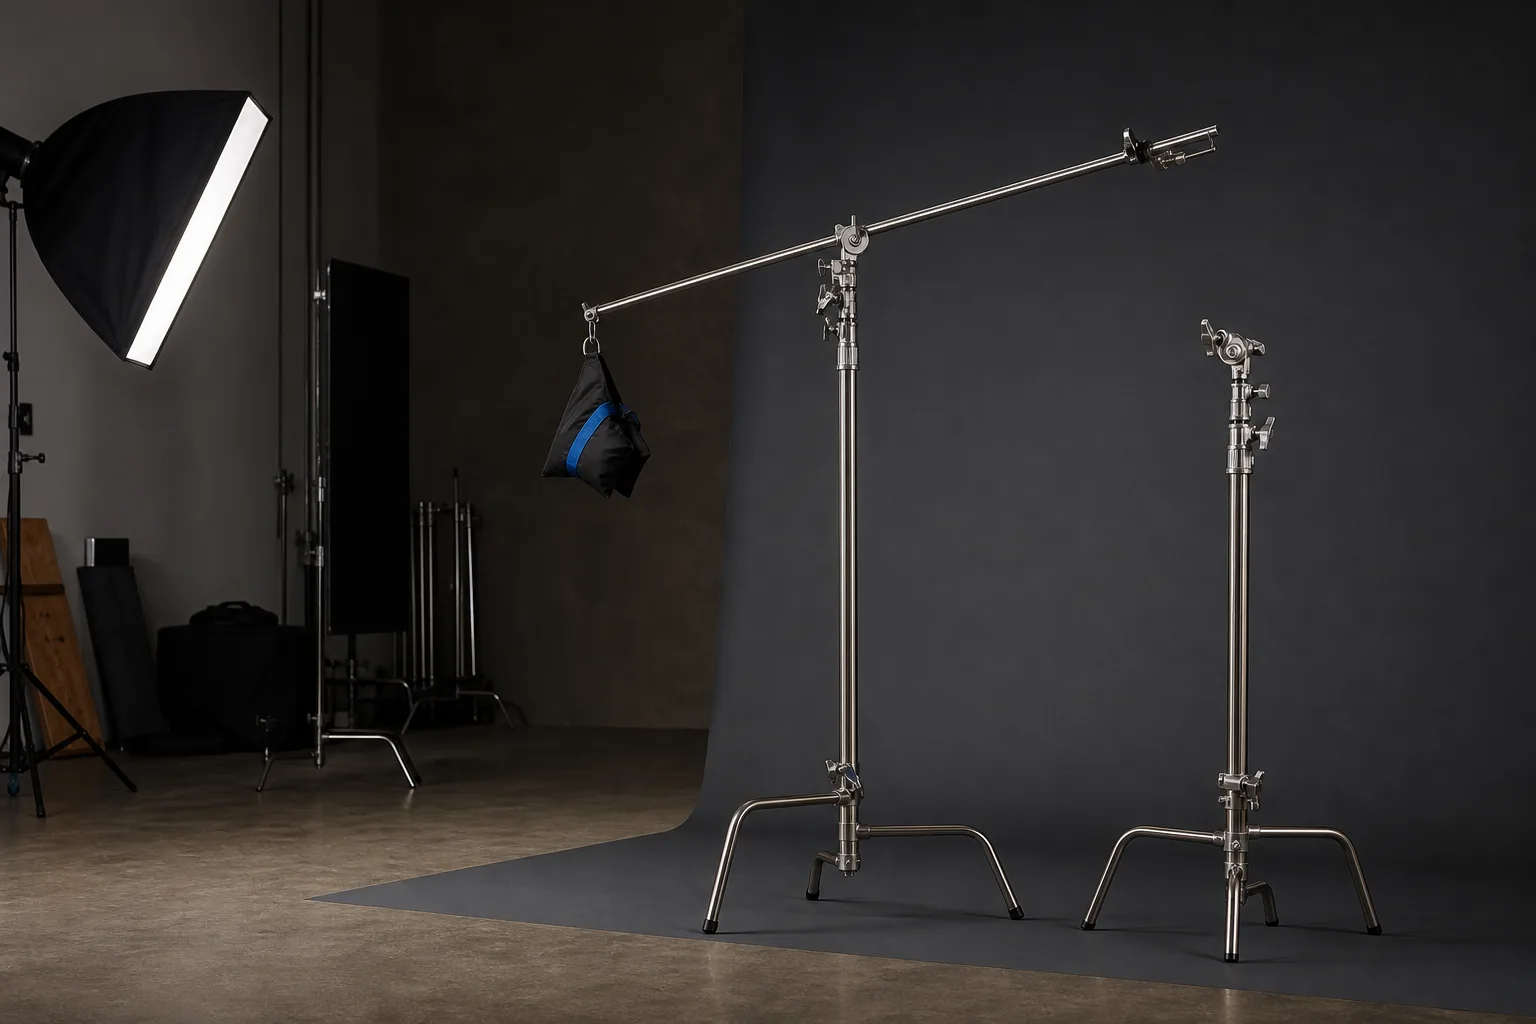
A C-stand setup should be easy to explain, inspect, and repeat. If the only check is “nothing moved when I let go,” the process has skipped the room, the connection, the cable, and the next person who walks onto the set.
This checklist is designed for small studios and creator spaces where the same people may be operating the camera, moving furniture, and changing lights. It does not replace the instructions for a specific stand, grip head, arm, fixture, modifier, counterweight, or clamp. If a step here conflicts with the supplied manual, stop and follow the manufacturer’s documentation.
Before the stand enters the set
Start with the environment. A correctly assembled stand can still create a poor setup when it sits in a doorway or places an arm over an uncontrolled walkway.
- Clear the intended base area and the path around it.
- Identify doors, drawers, chairs, and rolling equipment that could enter the stand zone.
- Check the floor for a slope, loose covering, cable bundle, or surface that prevents full leg contact.
- Mark the camera frame so the crew knows which equipment must remain outside it.
- Choose the power route before the light is raised.
- Confirm that the ceiling and any overhead fixtures leave room for the planned position.
Separate the room into three zones: the camera and subject zone, the equipment zone, and the walking path. The opened base and the entire arm sweep belong inside the equipment zone. If the walking path crosses that area, change the layout before adding hardware.
Inspect the exact parts you will use
Lay out the stand, base, grip head, arm, pins, adapters, fixture, and any approved ballast or counterweight. Do not assume that two similar-looking parts belong to the same system.
Check for visible damage, missing hardware, contamination, deformation, and threads or handles that do not operate normally. Verify the product identifier when multiple stand families share a storage area. Confirm that every adapter is documented for both sides of the connection.
The current LOMTAP catalog preserves available package notes for its C-stand products. Use those notes to compare options, then confirm the delivered package and follow the instructions supplied with the exact product because marketplace variants and package contents can change.
Open and position the base deliberately
Follow the exact base instructions. Legs should occupy the intended positions and contact the supporting surface as required by the manufacturer. Do not improvise a partially opened base because the room is crowded.
Orient the base so the stand’s footprint and planned arm remain inside the protected equipment zone. Then check the setup from the direction people will approach it. A leg that is obvious to the camera operator may be hidden from a presenter entering from the other side.
If the base design includes an adjustable leg, use it only as documented. An adjustable component does not make every slope or stair an acceptable surface. If you cannot establish the required contact and clearance, relocate the setup.
Build from low to high
Keep the supported item low while making the initial connections. A practical order is:
- Place and verify the base.
- Install or lock the riser section as the manual describes.
- Attach the documented grip head or direct fixture connection.
- Add the arm only if the shot requires offset positioning.
- Connect the compatible accessory while it is easy to reach.
- Route the cable with enough service loop for the planned adjustment.
- Raise one section at a time to the measured working position.
After every change, pause and inspect the whole system rather than tightening one handle in isolation. A cable pulled taut, a chair moved into the footprint, or an accessory rotated farther from the riser can change the setup you originally checked.
Treat grip-head setup as model-specific
Grip heads and arms can look familiar across different kits, but that is not permission to apply a directional rule remembered from another product. Tiffen's current Lowel page identifies the CGH-25 grip head, its mounting openings, and the C-stand kits that include it. Those details belong to that documented hardware and should not be generalized to every head, arm, clamp, or mirrored arrangement.
Identify the exact grip head, read its instructions, and make the initial connection at a low position without a valuable fixture. If the manual is unavailable or the hardware behaves unexpectedly, do not guess from a rule remembered from another product.
Add ballast only as documented
Sandbags are common pieces of grip equipment, but “add a bag” is not a complete instruction. The product documentation must establish whether ballast is required, what type is appropriate, and where it belongs for that configuration.
Do not hang an arbitrary object from a handle or arm. Do not assume a bag corrects an incompatible fixture, excessive extension, damaged base, or poor floor position. Ballast is one part of a complete documented setup, not permission to ignore the rest of the system.
If a bag is used, keep it inside the protected equipment zone and make sure it cannot slide into the walkway. Matthews’ official sandbag product information is useful for understanding purpose-built grip bags, but the requirements for your setup still come from the stand and accessory instructions.
Run a camera-ready check
Before recording, have one person inspect the complete set from base to accessory.
- Are all required legs fully placed and visible?
- Are riser, head, arm, and accessory connections in their documented positions?
- Is the supported item at the measured working height rather than an arbitrary maximum?
- Does the cable have a controlled route without pulling on the fixture?
- Is the base outside doors, exits, drawers, and the subject’s movement?
- Has the camera frame changed since the stand was placed?
- Can every person entering the room see or avoid the equipment zone?
Then rehearse the subject’s movement without recording. A seated interview may look static, yet the presenter may stand to adjust a product or leave the room. The setup should account for the real sequence.
Recheck after every meaningful change
A stand is not “done for the day” after the first setup. Recheck it when:
- the fixture, modifier, flag, or reflector changes;
- the arm angle or extension changes;
- a riser moves;
- the base moves, even slightly;
- a cable is rerouted;
- furniture or camera position changes;
- another person takes over the set;
- the equipment is bumped or behaves unexpectedly.
Use a phone photo and simple floor marks to document approved recurring positions. The photo should show the whole stand, not only the light. This makes differences easier to spot during a reset.
Strike in reverse order
At the end of the shoot, remove height and extension before removing the base from control. Power down equipment according to its instructions, allow any required cooling time, lower the supported item, disconnect it at a reachable position, and account for every adapter and fastener.
Inspect components as they return to storage. Separate any part that is damaged, incomplete, or behaving unusually so it is not unknowingly used on the next setup.
The best checklist is short enough to use and strict enough to stop a questionable setup. Keep this sequence beside the equipment case, add the exact model instructions, and revise it when the room or kit changes.
Related equipment
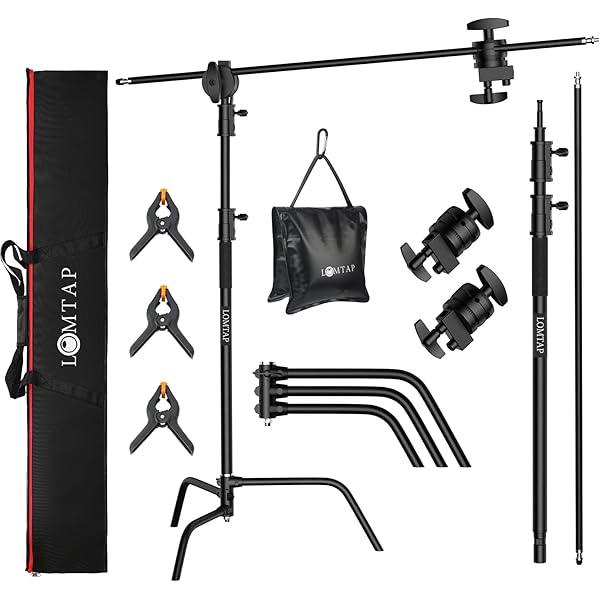
LOMTAP · C-Stands & Boom Arms
10.8 ft Heavy-Duty C-Stand KitBlack · 330 cm stand · 128 cm boom
See current price on Amazon.
Check on Amazon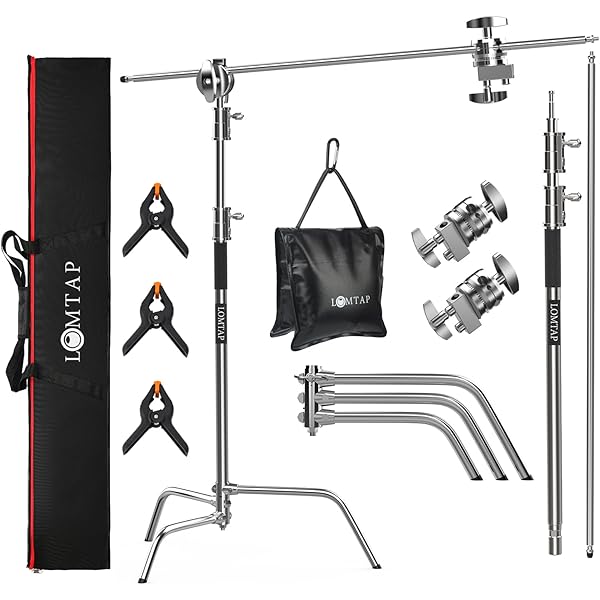
LOMTAP · C-Stands & Boom Arms
6.8 ft Stainless C-Stand KitSilver · 210 cm stand · 87 cm boom
See current price on Amazon.
Check on Amazon
LOMTAP · C-Stands & Boom Arms
10.5 ft Heavy-Duty C-Stand KitSilver · 330 cm stand · 128 cm boom
See current price on Amazon.
Check on AmazonContinue reading
Back to all guidesGrip fundamentals
C-Stand Size Guide: Choose for the Set, Not the Number
A useful C-stand size decision starts with the shot, the room, and the accessory position. This guide turns those constraints into a repeatable shortlist.
Grip fundamentals
C-Stand vs. Light Stand: Choose by the Job
C-stands and light stands overlap, but they organize a set differently. Compare the job, connection, room, and moving pattern before choosing either format.
Lighting setup
Plan a Wall-Mounted Ring Light Studio Setup
A wall-mounted light can return floor space, but it turns placement into a lasting decision. Map the frame, wall, movement, reach, and cable before drilling.