
Grip fundamentals
C-Stand Size Guide: Choose for the Set, Not the Number
A useful C-stand size decision starts with the shot, the room, and the accessory position. This guide turns those constraints into a repeatable shortlist.
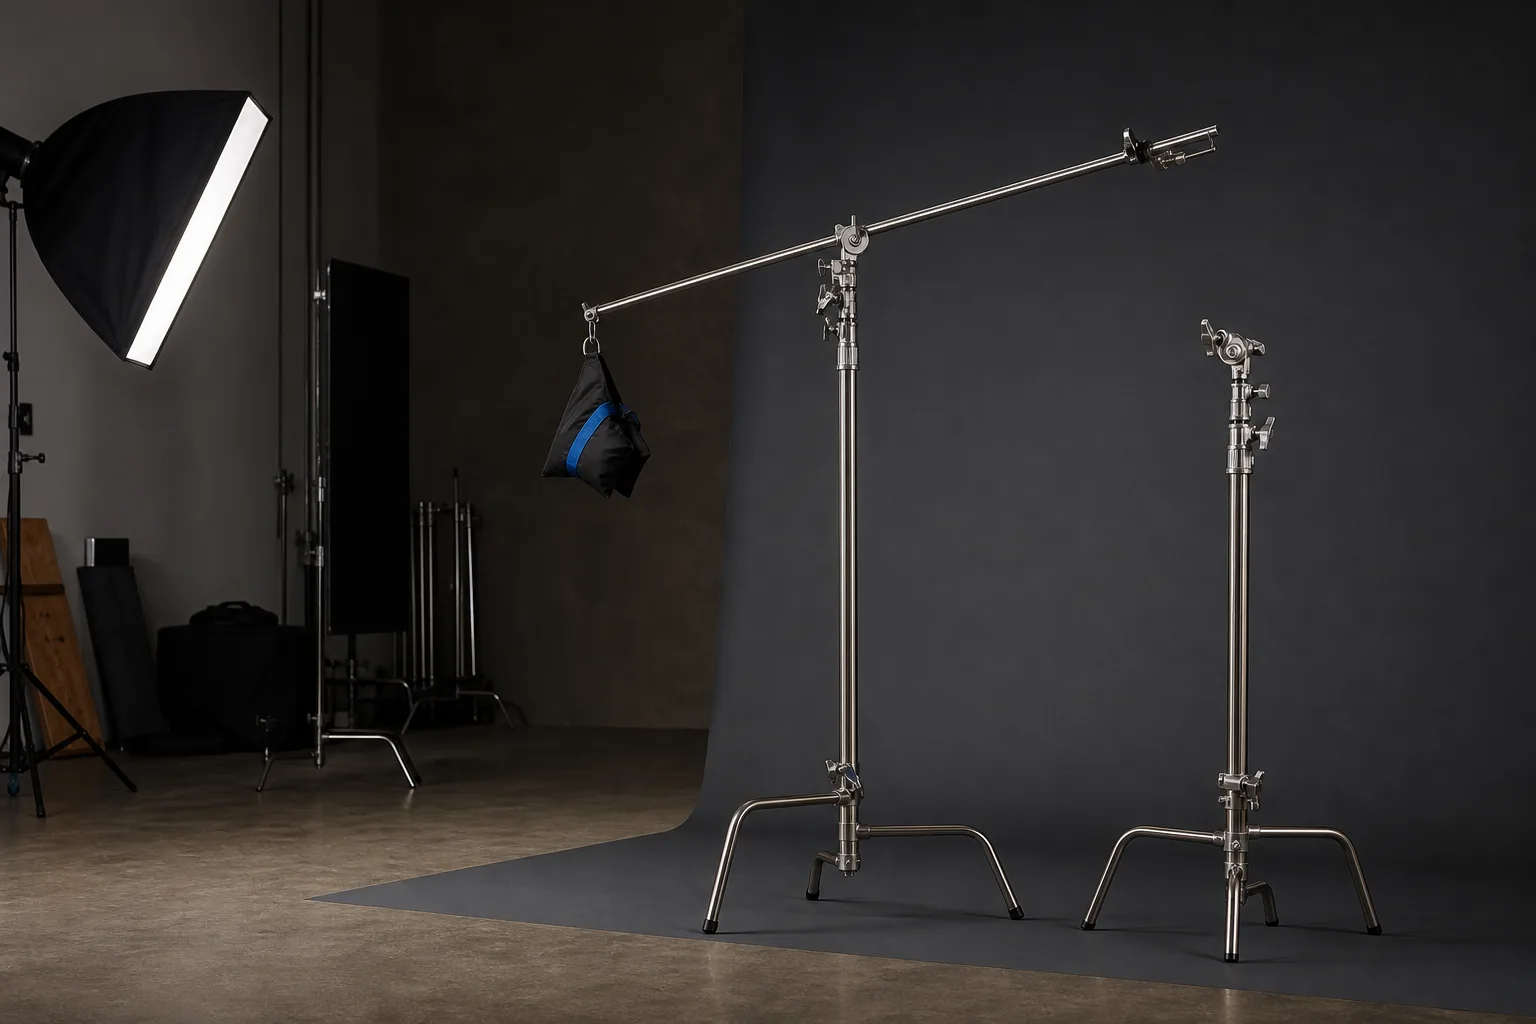
Choosing a C-stand by the largest number in a product title is an easy way to solve the wrong problem. The useful question is not “Which stand is tallest?” It is “Where must the supported item sit, how much room is available around it, and what has to move between takes?”
That distinction matters in a compact portrait room, a product table, and a temporary creator set. A taller riser may help place a modifier above the frame, but the same stand can be awkward if its base blocks the only clear walkway. A shorter option may fit a seated interview yet run out of adjustment when the camera turns toward a standing demonstration. The right size is therefore a relationship between the shot and the room.
Marketplace listings and variants can change. Treat the LOMTAP catalog labels as discovery aids, not engineering certificates. Confirm exact dimensions, load limits, connections, package contents, and supplied instructions for the current variant before planning a set around any measurement.
Start with the working position
Write down the position of the item the stand must support. Do this before comparing products.
- What is being positioned: a light, reflector, flag, small camera, or another accessory?
- Does it need to sit beside the subject, above the subject, or extend over a table?
- Is the subject seated, standing, or moving between both positions?
- Will the arm remain close to the riser, or does the composition require lateral reach?
- Which parts of the stand must stay outside the camera frame?
“Working height” is the height of the attachment point during the real shot. It is not automatically the maximum published height. If a light needs to be just above eye level, measure that target position. Add only the clearance required by the fixture, adapter, and modifier you actually plan to use.
A quick phone photo of the room, annotated with the camera frame and desired light position, is often more useful than a page of stand specifications. It makes the obstruction visible: a ceiling beam, a shelf, a doorway, or the edge of a desk.
Measure the room as a three-dimensional set
Floor area is only one constraint. Check the ceiling, wall, and camera path as well.
| Set question | Why it changes the shortlist |
|---|---|
| How high is the ceiling? | Extra riser height has little value if the fixture or modifier cannot clear the ceiling. |
| Where is the clear floor zone? | The base must fit without becoming the route everyone steps through. |
| How wide is the camera angle? | A wider frame exposes stands and arms that would remain hidden in a close shot. |
| Does the setup move? | Frequent moves favor a configuration that is easy to reset consistently. |
| Where are outlets and cables? | Power routing can determine which side of the set remains usable. |
Mark a protected equipment zone on the floor. It should include the base and the full sweep of any arm, not just the center column. Then preserve a separate path for the operator and subject. If those zones overlap, changing stand size alone may not fix the layout; the camera angle or furniture position may need to change.
Compare footprint, reach, and adjustment together
C-stand product families are often described with shorthand such as 20-inch, 25-inch, 30-inch, or 40-inch. Manufacturer references show that these names can identify a family or component format rather than one universal finished height. Do not assume that two similarly named stands have the same base, riser count, arm, minimum height, or packed length.
Use a five-column comparison instead:
- Usable height range. Can the attachment point reach every planned shot without operating at an extreme?
- Base and leg pattern. Will the opened base sit fully on the available surface?
- Arm configuration. Is an arm included, optional, detachable, or unnecessary for the shot?
- Packed form. Can the stand fit the vehicle, case, elevator, and storage area used by the crew?
- Exact connection. Does the fixture require a pin, receiver, screw, clamp, or adapter that is actually present?
This prevents a common mismatch: selecting a stand for vertical reach when the real requirement is lateral positioning, or selecting a long arm when the accessory could sit directly over the riser.
Choose for a repeatable setup, not a heroic extension
A practical stand should cover the normal shot with room to adjust. It should not depend on every section being extended and every accessory being at the far end of an arm just to reach the composition.
For a small room, begin with the lowest and closest placement that creates the desired light direction. Move the subject or camera a small amount before adding more stand reach. For a product table, consider whether the support can approach from the side rather than crossing directly over the work. For a standing presenter, test both the lowest seated position and highest standing position if one set must cover both.
These tests are about workflow, not load approval. A stand that reaches a point is not automatically appropriate for the equipment placed there. Only the current manufacturer documentation for the exact stand, head, arm, adapter, and fixture can establish permitted use.
Read the LOMTAP catalog as a shortlist
The LOMTAP catalog currently groups several C-stand kits under C-Stands and Boom Arms. Their display names help separate compact and taller listing families, and the product pages preserve marketplace titles, package notes, and available dimensions for comparison.
Use those pages to build a shortlist and a verification checklist. For example:
- Compare the 6.8 ft stainless C-stand kit when packed size and a lower working range matter to the room.
- Review the 10.8 ft heavy-duty C-stand kit when the listing family appears closer to a taller standing setup.
- Check the 10.5 ft heavy-duty C-stand kit as another current catalog configuration to verify against the intended set.
Before purchase, open the current Amazon listing and compare the exact model identifier, package contents, minimum and maximum positions, material, connection points, and instructions. Confirm any measurement that affects the shot or safe use against the documentation supplied with the exact product.
A five-minute size decision
Use this short sequence before adding a stand to the equipment list:
- Mark the subject and camera positions.
- Mark the desired attachment point for each shot.
- Measure the lowest and highest required positions.
- Draw the base, arm sweep, and cable route on the floor plan.
- Check the packed route from storage to set.
- Confirm the exact product documentation and included hardware.
- Reject any option that depends on an unverified dimension or connection.
The result may not be the tallest stand. It will be the stand format that fits the actual set, reaches the planned positions, leaves the room operable, and can be verified before use. That is a better definition of “right size” than any single number in a title.
Related equipment
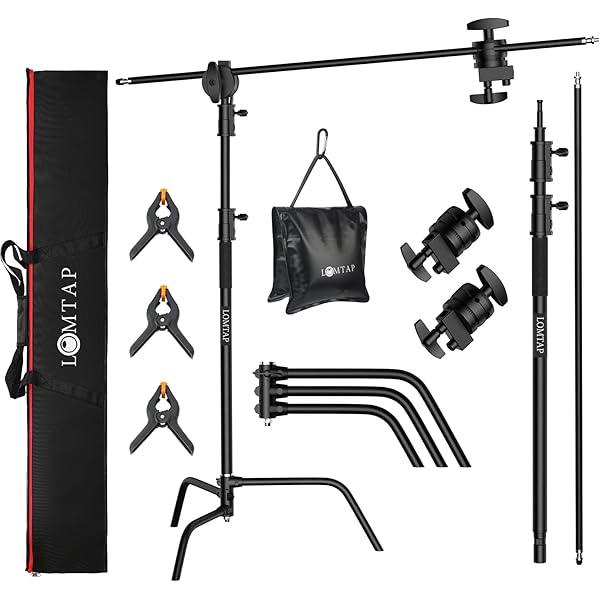
LOMTAP · C-Stands & Boom Arms
10.8 ft Heavy-Duty C-Stand KitBlack · 330 cm stand · 128 cm boom
See current price on Amazon.
Check on Amazon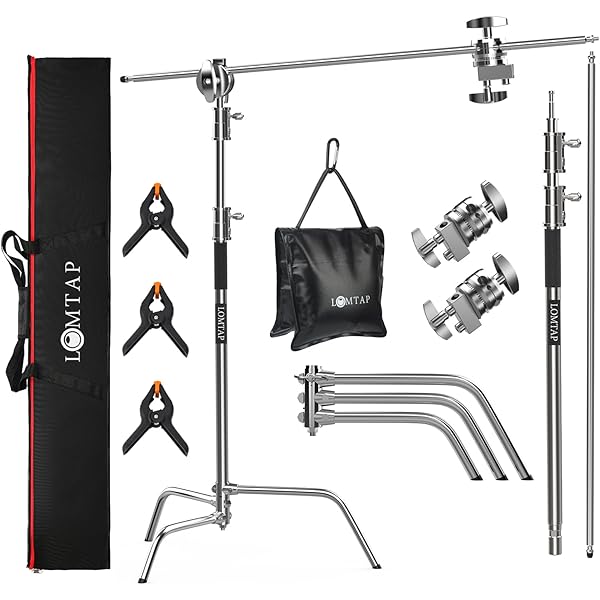
LOMTAP · C-Stands & Boom Arms
6.8 ft Stainless C-Stand KitSilver · 210 cm stand · 87 cm boom
See current price on Amazon.
Check on Amazon
LOMTAP · C-Stands & Boom Arms
10.5 ft Heavy-Duty C-Stand KitSilver · 330 cm stand · 128 cm boom
See current price on Amazon.
Check on AmazonContinue reading
Back to all guides
Grip fundamentals
C-Stand vs. Light Stand: Choose by the Job
C-stands and light stands overlap, but they organize a set differently. Compare the job, connection, room, and moving pattern before choosing either format.
Studio workflow
C-Stand Setup Checklist for a Cleaner, Safer Set
A repeatable C-stand setup is a sequence, not a last-minute tightening pass. Work through the room, stand, accessory, and cable checks in order.
Lighting setup
Small-Room Video Lighting: A Practical One-Light Plan
A small room rarely needs more gear first. Start with the frame and one controllable key light, then solve contrast, background, color, and movement in order.