
Grip fundamentals
C-Stand vs. Light Stand: Choose by the Job
C-stands and light stands overlap, but they organize a set differently. Compare the job, connection, room, and moving pattern before choosing either format.
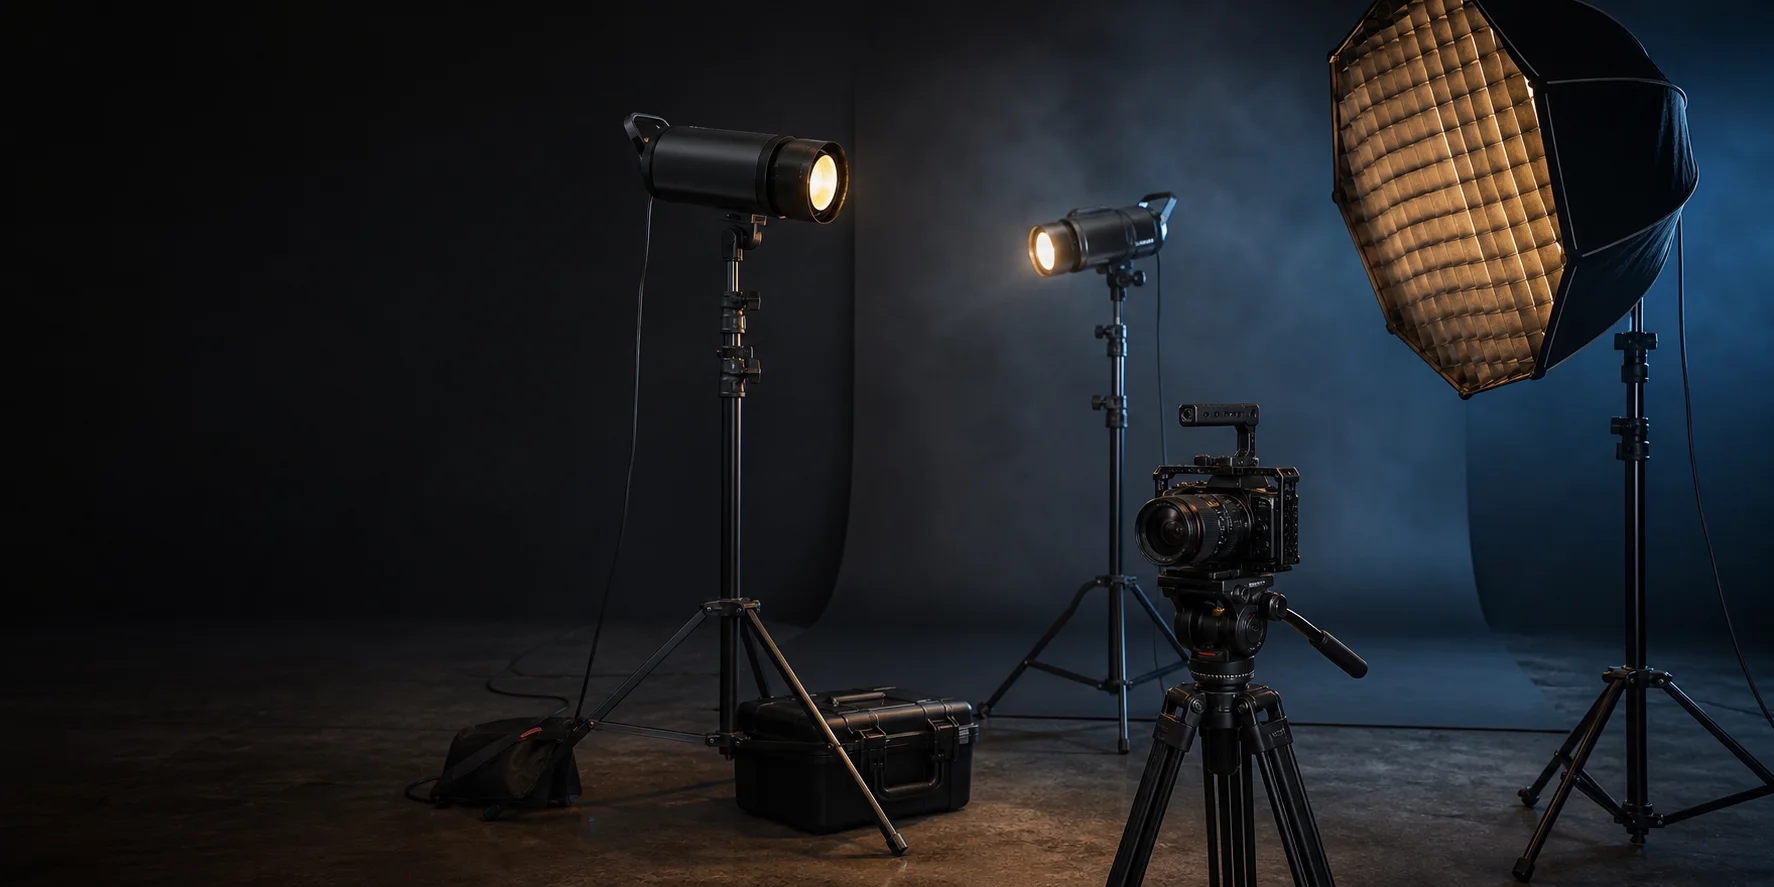
A C-stand is not simply a “better light stand,” and a light stand is not merely a lighter substitute. They are different support formats with overlapping jobs. The useful comparison starts with what must be positioned, how the set changes, and which connection the equipment requires.
On one shoot, a straightforward light stand may put a compact fixture in place with fewer parts and a quick reset. On another, a C-stand’s grip head and arm may make it easier to position a reflector or flag away from the center column. Neither observation establishes a universal load rating. Exact permitted equipment and configurations come from the documentation for the individual stand and accessories.
The practical difference is set geometry
Think about the line between the base and the supported item.
A typical light-stand setup keeps the fixture close to the riser. The stand rises from its footprint, and the fixture sits at or near the top connection. This direct layout can be easy to understand and quick to move when the shot changes.
A typical C-stand kit may combine a base, risers, a grip head, and an arm. That creates additional positioning options: an accessory can sit away from the riser, a reflector can enter from the side, or a flag can be adjusted without moving the base to the same degree. Those options also add joints that must be configured and checked correctly.
The difference is therefore less about appearance and more about where the supported item must be relative to the stand’s centerline.
Compare the two formats against the job
| Decision | C-stand format may suit | Light-stand format may suit |
|---|---|---|
| Positioning | A flag, reflector, or compatible accessory needs controlled offset from the riser. | A compatible fixture can remain directly above the riser. |
| Reset speed | The base can stay while the arm or grip position changes. | The full stand can be picked up and repositioned as one direct unit. |
| Floor plan | The leg pattern and arm can be protected within a defined equipment zone. | A simpler footprint fits the intended placement and walking path. |
| Packing | The kit, head, arm, and base fit the case and transport plan. | Packed length and fewer separate components matter more. |
| Accessory system | The exact grip head, arm, pin, receiver, or adapter is documented for the job. | The fixture’s documented stand connection is already a direct match. |
This table is a planning tool, not a promise that every product in a category behaves the same way. Matthews, for example, publishes separate C-stand and kit-stand families with different components and intended configurations. Other manufacturers organize their lines differently. Always compare the exact model.
When a C-stand workflow is useful
A C-stand format becomes interesting when the supported item should move independently from the base.
Shaping light outside the frame
A reflector, flag, or small modifier may need to enter the edge of a composition while the base remains farther away. An arm and grip head can provide that geometry when the exact accessories are compatible and documented.
Repeating a controlled position
On a product table or interview set, the base may occupy a marked location while the grip head is adjusted between a few known positions. Floor marks and a written setup note can make those resets more consistent.
Working around uneven or constrained surfaces
Some C-stand families include leg arrangements designed for specific surface or clearance situations. That does not mean every base is suitable for every uneven surface. Check the instructions for how the legs must contact the floor and whether the model offers the required adjustment.
When a direct light stand is the clearer choice
A light stand often makes sense when the fixture belongs directly over the riser and the crew expects to move the complete unit.
A compact creator light
If a compatible light and phone holder are part of one portable kit, the included stand may provide the simplest documented path from case to camera-ready setup. The LOMTAP creator video lighting kit, for example, is cataloged with its own stand and accessories. Confirm the current package and instructions rather than replacing the support automatically.
Frequent location changes
For a small production that moves between rooms, fewer separate grip parts may simplify packing and inventory. The deciding factors are still the fixture connection, documented use, working height, and room—not the category name alone.
A narrow, direct placement
When the light can sit close to the riser, adding an offset arm may create complexity without improving the image. Start with the simplest configuration that reaches the planned position and is approved for the exact equipment.
Do not compare only weight or maximum height
Marketplace pages often foreground a material, maximum height, or weight figure. Those values can be useful, but they do not describe the entire support system.
Ask these questions instead:
- Is the number for the stand alone or a kit with an arm and head?
- Does “height” include an attachment or exclude it?
- Is a listed weight the item weight, package weight, or a claimed capacity?
- Is the value repeated consistently in the title, specifications, manual, and package?
- Does the connection match the fixture without an unlisted adapter?
Treat the current LOMTAP product pages as comparison snapshots because marketplace listings and variants can change. If a measurement affects the shot or safe use, verify it against the current listing and instructions supplied with the exact product.
Use a two-shot test before choosing
Plan the hardest two positions in the production, not just the opening shot.
For an interview, that might be a seated wide frame and a standing demonstration. For product work, it might be a straight-on key light and an overhead reflection-control position. For a livestream, it might be the normal desk setup and the clear path required when the presenter leaves the chair.
For each shot, sketch:
- The camera frame.
- The subject or product.
- The desired fixture or modifier position.
- The stand base and any arm sweep.
- The operator walkway and cable route.
- The connection and adapter chain.
If the item must stay directly over the riser in both shots, a compatible light stand may be the cleanest solution. If the item needs documented offset positioning while the base stays outside the frame, a C-stand configuration may be more appropriate.
Build a mixed support kit intentionally
Many working sets use both formats. A direct stand may carry a compatible light, while a C-stand positions a reflector or flag. The value comes from assigning each tool a clear job.
The LOMTAP C-stand collection and continuous-lighting collection can help you see the current equipment groups together. Use their product pages to compare package contents and connection notes, then confirm every final detail at the current Amazon listing.
Choose the format that makes the planned position simple, keeps the room operable, and follows the exact product instructions. That is more reliable than declaring one stand type the winner.
Related equipment
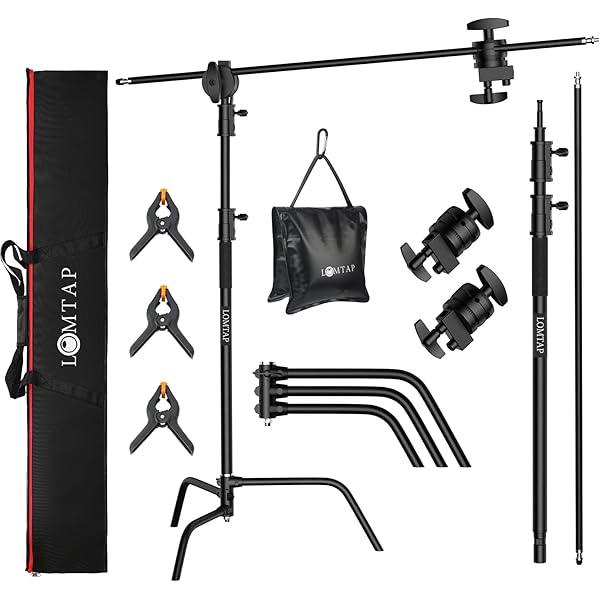
LOMTAP · C-Stands & Boom Arms
10.8 ft Heavy-Duty C-Stand KitBlack · 330 cm stand · 128 cm boom
See current price on Amazon.
Check on Amazon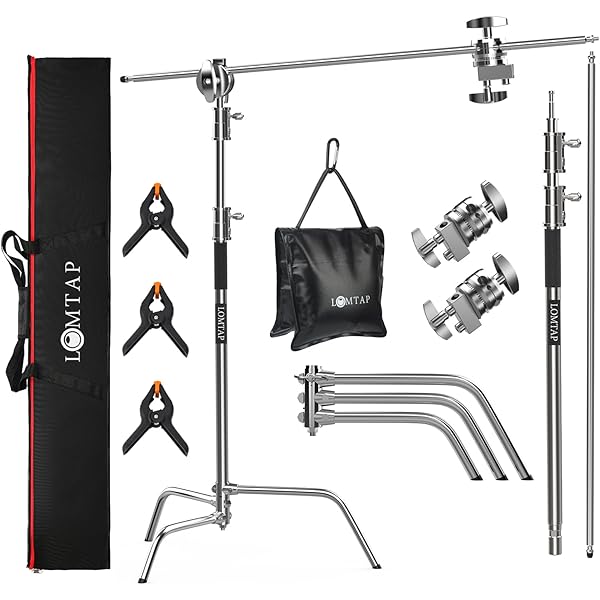
LOMTAP · C-Stands & Boom Arms
6.8 ft Stainless C-Stand KitSilver · 210 cm stand · 87 cm boom
See current price on Amazon.
Check on Amazon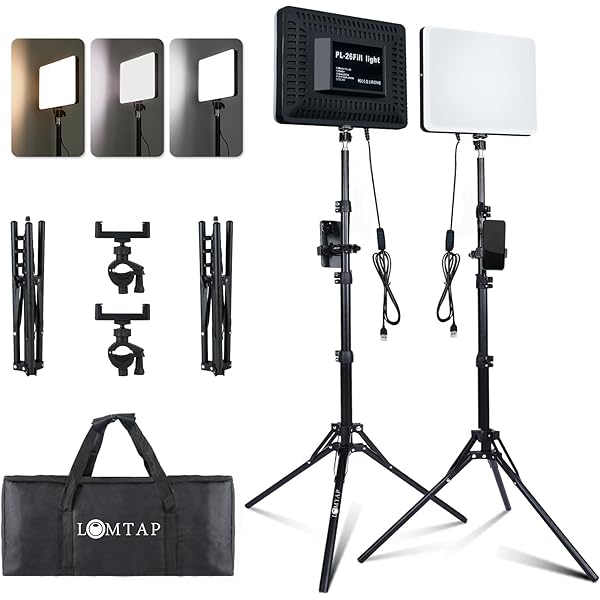
LOMTAP · Continuous Lighting
Creator Video Lighting Kit6.5 ft stand · Phone holder · Carry bag
See current price on Amazon.
Check on AmazonContinue reading
Back to all guides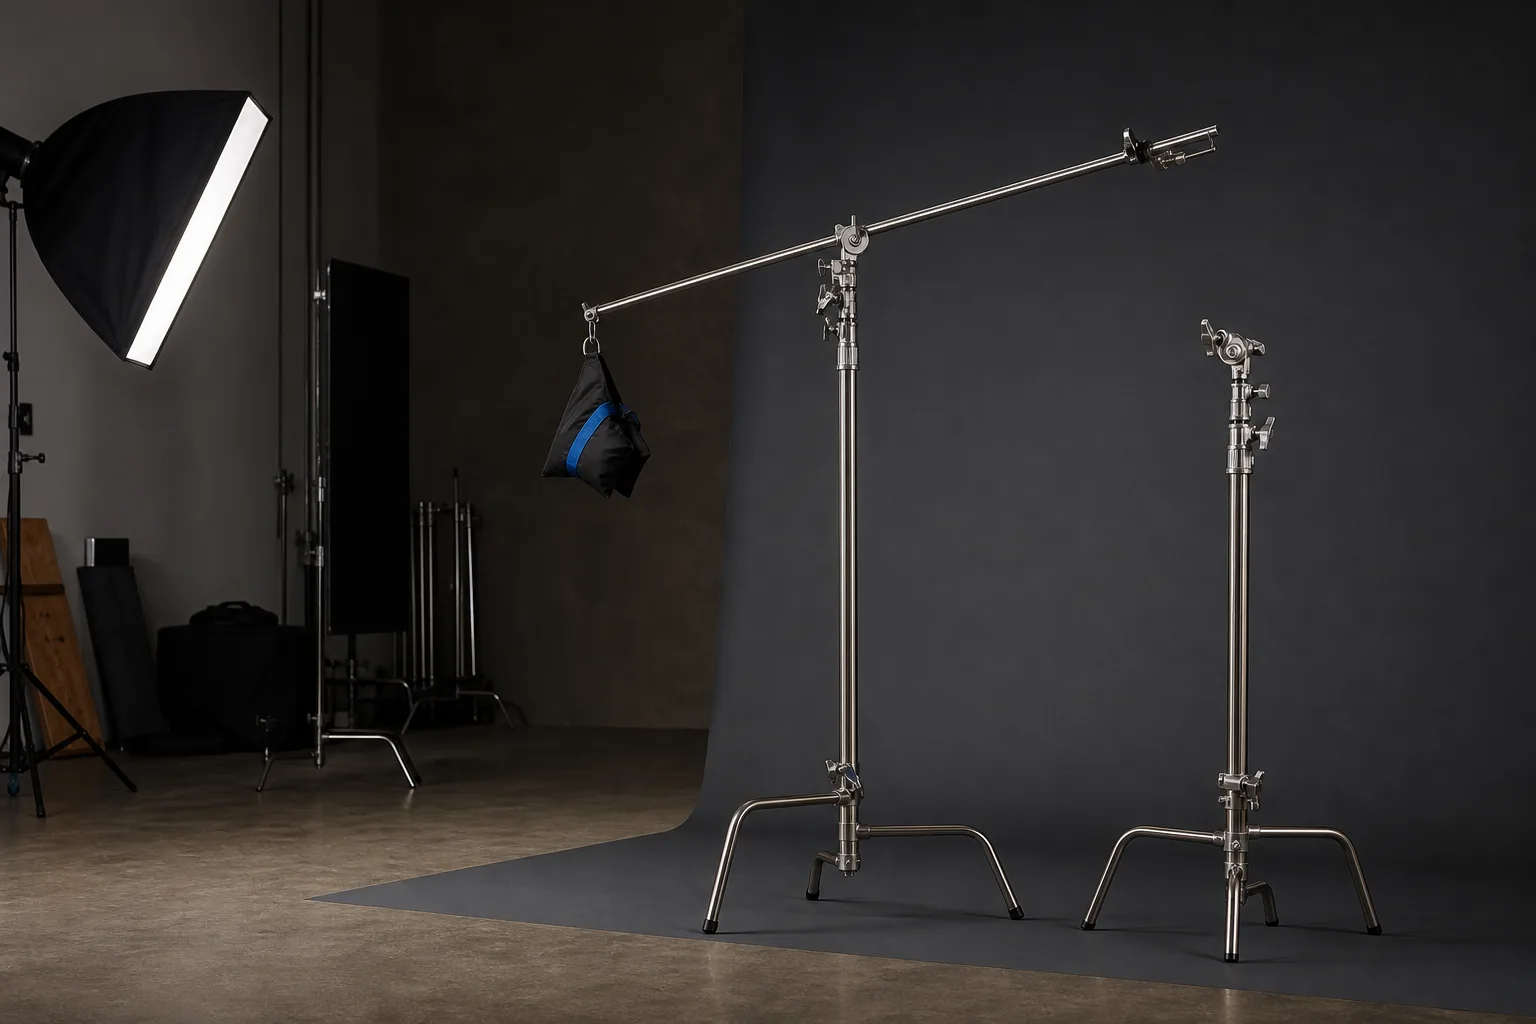
Grip fundamentals
C-Stand Size Guide: Choose for the Set, Not the Number
A useful C-stand size decision starts with the shot, the room, and the accessory position. This guide turns those constraints into a repeatable shortlist.
Studio workflow
C-Stand Setup Checklist for a Cleaner, Safer Set
A repeatable C-stand setup is a sequence, not a last-minute tightening pass. Work through the room, stand, accessory, and cable checks in order.
Lighting setup
Small-Room Video Lighting: A Practical One-Light Plan
A small room rarely needs more gear first. Start with the frame and one controllable key light, then solve contrast, background, color, and movement in order.