
Lighting setup
Plan a Wall-Mounted Ring Light Studio Setup
A wall-mounted light can return floor space, but it turns placement into a lasting decision. Map the frame, wall, movement, reach, and cable before drilling.
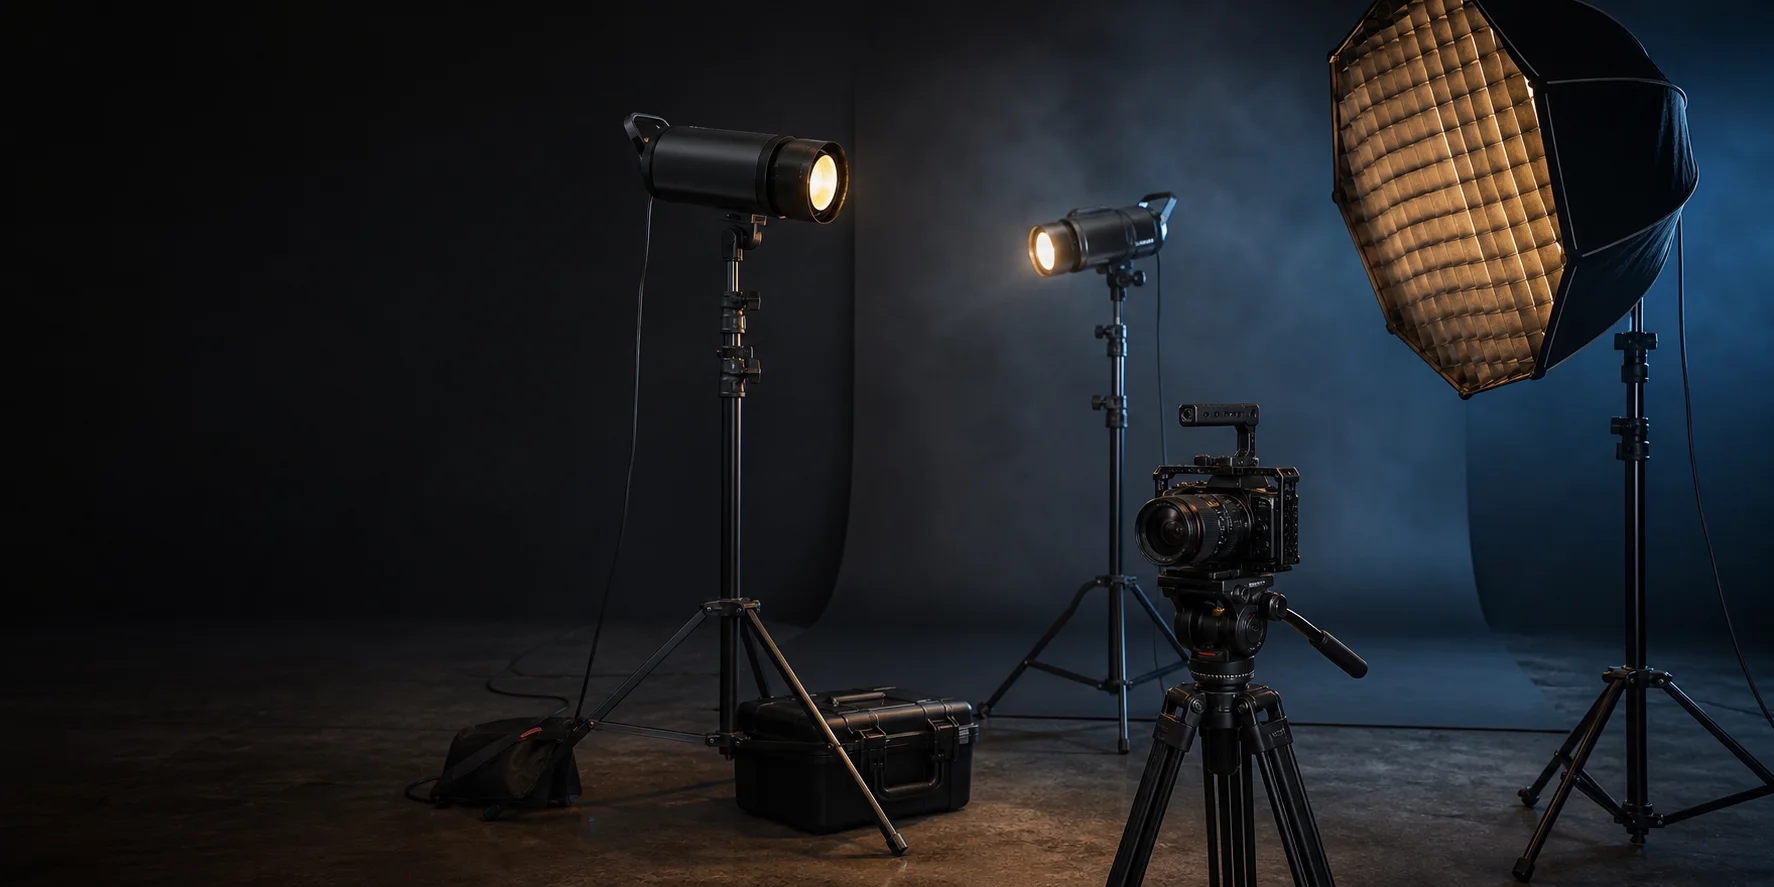
A wall-mounted ring light setup trades a movable floor stand for a fixed relationship between the wall, arm, subject, and camera. That can free a small room from one recurring base, but it also means that a poor mounting position is harder to correct later.
Plan the shot before planning the holes. The goal is not to place the arm at its maximum reach. The goal is to cover the actual framing positions, park the light clear of the room when it is not used, and route power without creating a new obstacle.
The current LOMTAP catalog includes an adjustable wall-mount boom arm. Use its product page to identify the format, then confirm the current instructions, the exact light and adapter, the documented capacity, and the wall construction. Consult a qualified installer whenever the structure or fastening method is uncertain.
Draw the camera frame first
Set the camera where it normally records and capture the widest frame the room must support. Mark the subject’s seated and standing positions, including any desk, chair, mirror, product table, or backdrop.
Then mark the desired center of the ring light for each recurring shot. A video call may keep the light close to the camera axis. A beauty or product demonstration may place it slightly above or to one side. The Savage Universal ring-light guidance discusses placement around the face and camera; use that visual goal to define positions before selecting a wall location.
Do not assume one point works for every lens and subject. Test with a temporary light or a lightweight mockup held by another person. Review reflections in glasses, glossy products, windows, and mirrors. Note where the light appears in the frame and where its catchlight appears in the eyes.
Map the arm envelope
A wall boom occupies more than the straight line from bracket to light. It has an operating envelope: every point the arm and attached light can sweep through while moving between working and parked positions.
On a wall elevation drawing, mark:
- the bracket location;
- the lowest and highest intended light positions;
- the nearest and farthest intended reach;
- the complete light diameter, not just its mounting point;
- doors, cabinet fronts, shelves, curtains, and ceiling fixtures;
- the cable path and required service loop;
- the parked position when recording ends.
Repeat the exercise on a floor plan. Confirm that the light cannot swing into the subject’s normal movement or the camera operator’s path. If the arm crosses a doorway or requires people to duck under it, move the proposed bracket.
Treat the wall as part of the support system
The bracket, fasteners, wall assembly, arm, adapter, and fixture form one system. A generic wall description such as drywall, masonry, or wood is not enough to choose installation hardware from an article.
Manfrotto’s wall-boom instructions show a manufacturer-specific installation and operating model. Use the instructions supplied with the exact mount you own. Determine the wall’s structural construction and hidden services before work begins. If you cannot establish what the bracket is fastening into, or whether the proposed method is appropriate, use a qualified installer.
Avoid translating a fastener recommendation from another mount to the LOMTAP arm. A different bracket pattern, wall, fixture, or leverage condition can require a different solution. Likewise, a completed installation should not be assumed acceptable because it feels firm during one hand test.
Plan power as carefully as light position
Decide where the power supply and controls will live in both working and parked states. A cable needs enough movement for every approved arm position without becoming taut, pinched, or wrapped around a joint.
Use these planning questions:
- Can the cable follow the arm without entering a moving joint?
- Is there a controlled service loop at the fixture and wall transition?
- Can the arm park without crushing or sharply bending the cable?
- Does the cable descend outside the subject and operator paths?
- Can power be disconnected without climbing or pulling on the cable?
Follow the light, power-supply, cable, and mount instructions. Do not permanently conceal a flexible cord or substitute an improvised connector because the outlet is inconvenient. If the electrical plan is unclear, get qualified help before installation.
Build repeatable working positions
A fixed wall bracket can improve repeatability if the moving positions are documented. After the installation has been approved for the exact equipment, set up the primary camera and subject position again.
Create no more than three starting positions:
- Seated close frame: the normal desk, call, or makeup view.
- Standing frame: a demonstration or portrait position with more vertical coverage.
- Parked: clear of the camera, subject, doors, and storage access.
Use non-damaging reference marks or written measurements that do not interfere with the mechanism. Record an overview photo showing the wall bracket, arm, light, cable, subject mark, and camera. A close photo of only the light will not help someone reproduce the whole setup.
Shape the image before adding complexity
A ring light is often used near the camera axis for an even frontal look. Start with the lowest output and closest documented position that gives the intended result. Adjust subject-to-background distance, camera exposure, and ambient light before adding multiple fixtures.
Review four areas:
- Face or product exposure: preserve texture instead of raising output automatically.
- Background separation: move the subject or adjust background tone if the image feels flat.
- Reflections: change the light angle, camera angle, or reflective object position.
- Color consistency: avoid mixing uncontrolled daylight and room lighting unless the look is intentional.
The LOMTAP listing describes compatibility with several photographic devices. Confirm the exact connection, adapter, light diameter, cable movement, and instructions for the equipment in hand before installation.
Use a pre-recording wall-mount check
Before each session:
- inspect the visible bracket, fasteners, arm, knobs, cable, and adapter;
- stop if anything is loose, damaged, incomplete, or behaving differently;
- move the arm through only the required working path while the area is clear;
- confirm the light and cable remain clear of furniture and people;
- verify the selected position matches the camera frame;
- return the arm to its documented parked position after use.
Do not continue using a mount that has shifted or a wall surface that shows change. Remove the attached equipment from service as its instructions allow and have the installation assessed.
A fixed mount should make the room simpler
The strongest reason to use a wall-mounted arm is not visual novelty. It is a more orderly recurring setup: less floor hardware in the normal room, a known light position, and a clear parked state.
If the layout cannot provide those outcomes—or the wall and installation method cannot be verified—a movable stand may be the better choice. Compare the wall approach with the C-stand size framework and choose the support that keeps the complete room understandable.
Related equipment
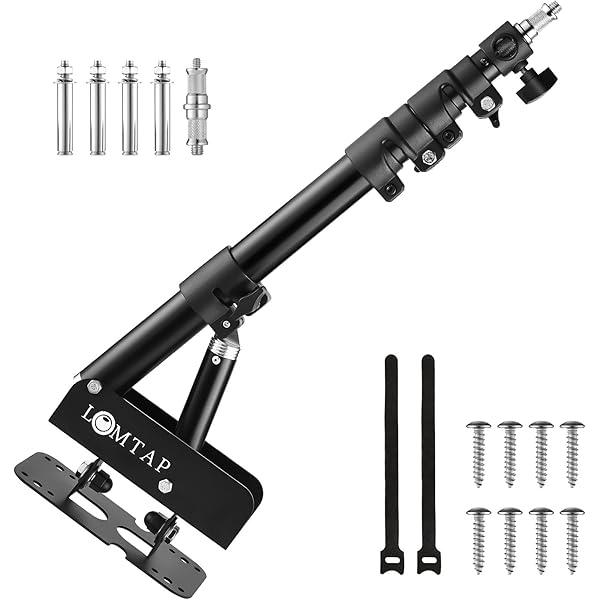
LOMTAP · C-Stands & Boom Arms
45.7" Wall-Mount Boom ArmBlack · 3.8 ft · Alloy metal
See current price on Amazon.
Check on AmazonContinue reading
Back to all guides
Lighting setup
Small-Room Video Lighting: A Practical One-Light Plan
A small room rarely needs more gear first. Start with the frame and one controllable key light, then solve contrast, background, color, and movement in order.
Studio workflow
C-Stand Setup Checklist for a Cleaner, Safer Set
A repeatable C-stand setup is a sequence, not a last-minute tightening pass. Work through the room, stand, accessory, and cable checks in order.
Grip fundamentals
C-Stand Size Guide: Choose for the Set, Not the Number
A useful C-stand size decision starts with the shot, the room, and the accessory position. This guide turns those constraints into a repeatable shortlist.