
Lighting setup
Small-Room Video Lighting: A Practical One-Light Plan
A small room rarely needs more gear first. Start with the frame and one controllable key light, then solve contrast, background, color, and movement in order.
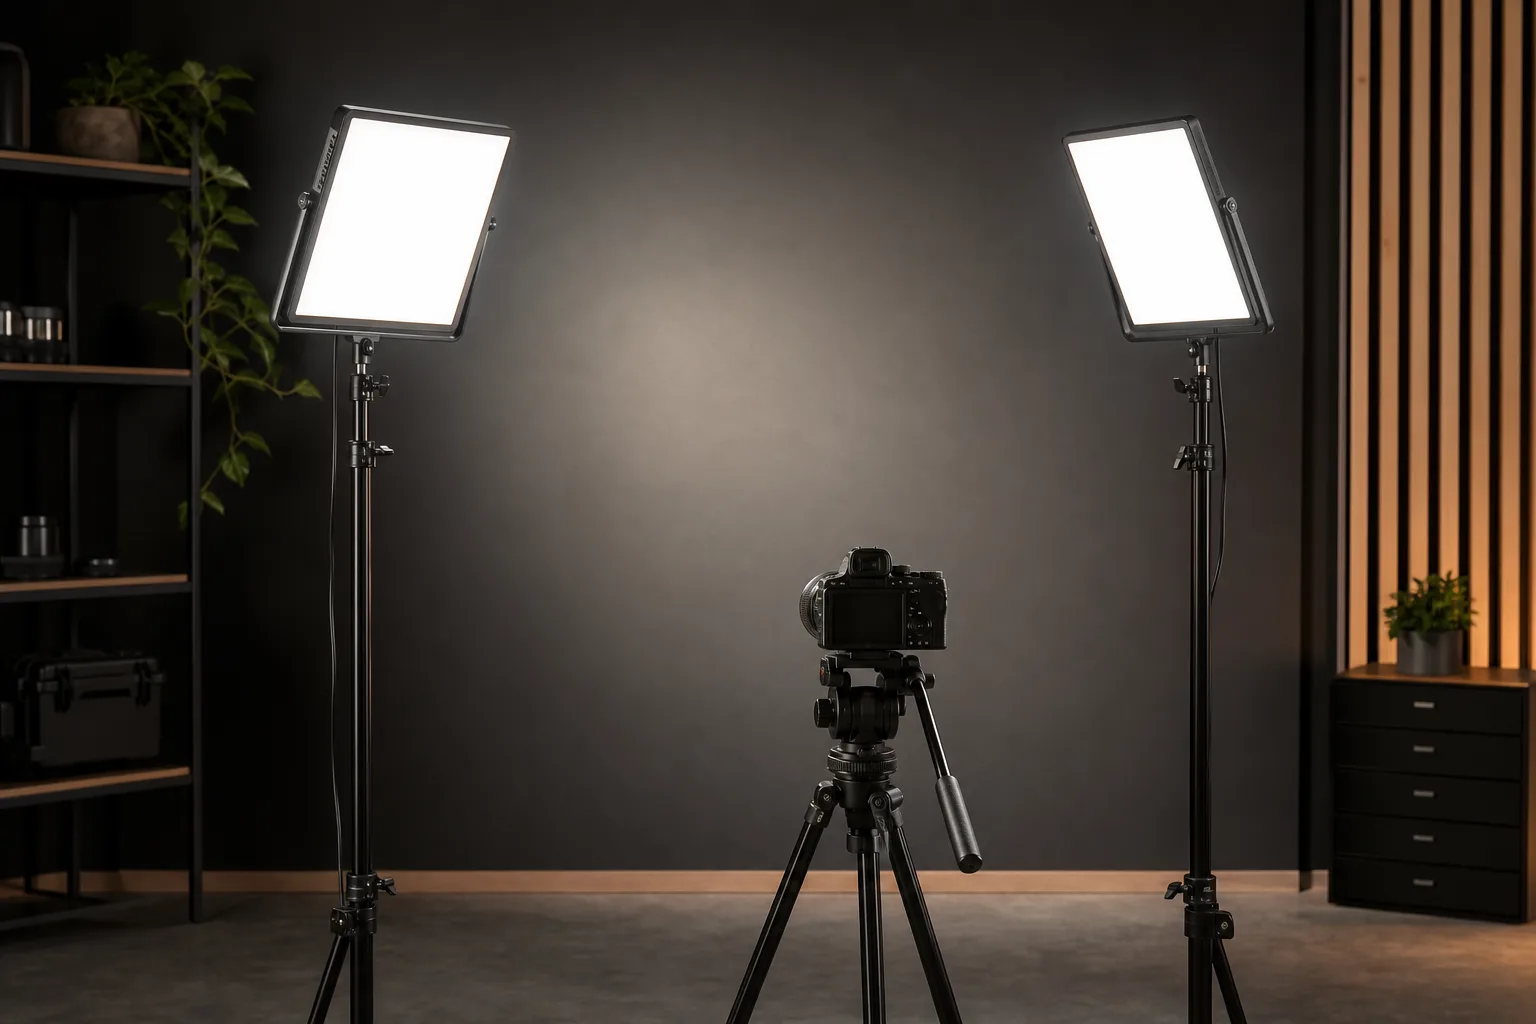
Small-room video lighting is a space-management problem before it is a fixture-count problem. A desk, a wall, a window, and a wide-angle lens can all limit where a light can go. Adding a second or third fixture before controlling those variables often creates more reflections, cables, and mixed color without making the subject clearer.
Begin with one controllable key light and a repeatable frame. The process below works for a talking-head video, livestream, podcast camera, product explanation, or video call. It does not depend on an unverified brightness or color claim. Use the controls and operating limits documented for the exact light you own.
Lock the frame before moving lights
Choose the camera, lens or phone view, recording resolution, and final crop. Put the camera at the position it will actually use and decide whether the subject will remain seated, stand, or hold products near the face.
Remove objects that do not contribute to the frame. A wider lens can make a tiny room look larger, but it also reveals more wall, floor, and lighting hardware. If moving the camera slightly closer allows a narrower, cleaner view, make that change before trying to hide more equipment.
Mark three things:
- The camera or tripod position.
- The subject’s eye line and seated or standing mark.
- The visible edges of the frame on the floor and walls.
Those marks define where a light and stand can live without appearing on camera.
Decide what ambient light stays
Turn off every controllable room light, then add sources back one at a time. Look for daylight shifts, ceiling-light shadows, color differences, monitor glow, and reflections in glasses or glossy products.
You have two practical options:
- Control the ambient light. Close a curtain, switch off a ceiling fixture, and let the video light establish the main direction.
- Use the ambient light intentionally. Keep a window or practical lamp in the composition and adjust the key light to complement it.
Avoid a half-controlled mixture where the window changes during recording while multiple room bulbs create different skin tones. The Aputure and Nikon educational guides both present lighting as a matter of direction, contrast, and purpose—not simply total output.
Place one key light
Start with the light slightly above the subject’s eye line and off the camera axis. The exact side and angle depend on the face, glasses, room, and desired mood. Keep the light within its documented setup and support instructions.
Move the fixture closer or farther before raising output aggressively. A closer light can appear larger relative to the subject and may create a softer transition when used with an appropriate modifier, but it must remain outside the frame and subject movement. A farther light may clear the frame while requiring a different output or modifier position.
Review the image at the final camera settings. Check the bright side of the face, the shadow side, eyes, glasses, hair, and any product the presenter will lift. If the presenter turns during the video, rehearse that turn.
Set exposure with the camera you will record
Do not judge exposure only by how the room looks to your eyes. Use the camera preview and any available exposure tools. Set the recording frame rate and shutter behavior required by your workflow, then adjust aperture, ISO or gain, and light output in a controlled order.
Protect important highlights on skin and reflective products. If the background is too bright, reduce or redirect its source instead of making the key light compete without limit. If the face is correctly exposed but the image feels noisy, check whether the camera settings, lens, or distance can improve before adding another fixture.
Save the final camera and light settings in a setup note. “Dial at halfway” is not enough when controls, modes, or firmware can differ; record the named mode and displayed setting available on the exact unit.
Make white balance repeatable
Mixed color can make a small room look inconsistent between takes. Choose a white-balance method supported by the camera and repeat it under the final lighting.
If the light offers selectable color settings, confirm the current setting rather than relying on memory. Remove or intentionally include room sources with different color. Place a neutral reference at the subject position if your camera workflow uses one.
Do not correct a constantly changing source only in post-production. A stable capture gives the editor more room to refine color without chasing shifts across the clip.
Solve contrast before adding a second powered light
If the shadow side is too dark, first inspect what the room already provides. A light wall or purpose-built reflector outside the frame may return some of the key without another cable. Move it closer or farther and check whether it creates the intended result.
If the background blends into the subject, try these adjustments in order:
- increase the subject-to-background distance if the room allows;
- change the subject or background tone;
- rotate the key light to control spill;
- move the camera slightly to reveal a cleaner background area;
- add a documented background or separation light only when the simpler changes are insufficient.
Three-point lighting is a useful teaching model, not a requirement that every room contain three fixtures. Nikon’s official introduction explains the roles of key, fill, and back light. In a small room, those roles can be fulfilled with fewer powered sources when the environment cooperates.
Choose support around the room
The LOMTAP creator video lighting kit is listed with a stand, phone holder, and bag, making it a relevant catalog starting point for a portable setup. The wall-mount boom arm represents a different approach for recurring rooms where a verified installation is possible.
Treat both as formats to investigate. Confirm current package contents, connections, dimensions, instructions, and the exact light or accessory being supported. Do not infer compatibility or safe use from a category label.
For a movable stand, keep the base fully inside a protected equipment zone. For a wall mount, map the entire arm sweep and use an installation appropriate to the wall and exact product. In either case, route power outside the presenter and operator paths.
Run a one-minute recording test
Record a short clip that includes the real movement and audio setup. Review it on the display used for editing, not only the small camera screen.
Check:
- face and product exposure;
- focus during movement;
- reflections in glasses and surfaces;
- background separation;
- white-balance consistency;
- flicker or brightness changes;
- stand, arm, and cable clearance;
- fan, room, or handling noise.
Change one variable at a time and record another short test. This makes the cause of improvement—or a new problem—obvious.
Save the room as a setup, not a memory
Take one wide behind-the-scenes photo showing the camera, subject, light, support, background, and cable route. Add measurements from fixed room features, plus the camera and light settings. Keep the note with the production folder.
The most useful small-room lighting setup is not the most elaborate. It is the one that can be rebuilt, keeps the room navigable, gives the subject consistent exposure and color, and leaves a clear reason for every piece of equipment in the frame or just outside it.
Related equipment
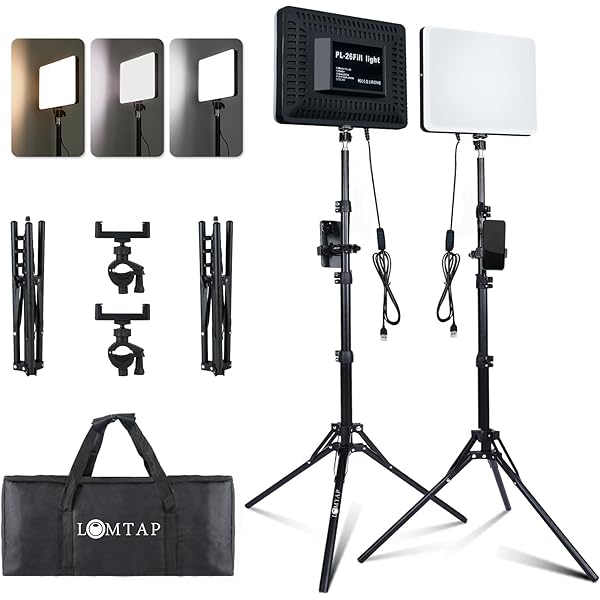
LOMTAP · Continuous Lighting
Creator Video Lighting Kit6.5 ft stand · Phone holder · Carry bag
See current price on Amazon.
Check on Amazon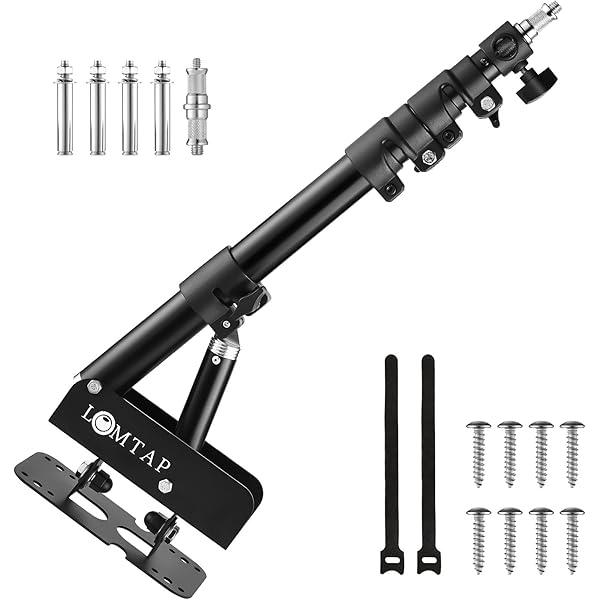
LOMTAP · C-Stands & Boom Arms
45.7" Wall-Mount Boom ArmBlack · 3.8 ft · Alloy metal
See current price on Amazon.
Check on AmazonContinue reading
Back to all guides
Lighting setup
Plan a Wall-Mounted Ring Light Studio Setup
A wall-mounted light can return floor space, but it turns placement into a lasting decision. Map the frame, wall, movement, reach, and cable before drilling.
Backdrop workflow
Green Screen Backdrop Setup: From Room to Clean Key
A clean chroma key starts before editing. Build enough coverage, reduce wrinkles and shadows, separate the subject, and test the actual camera and software early.
Grip fundamentals
C-Stand Size Guide: Choose for the Set, Not the Number
A useful C-stand size decision starts with the shot, the room, and the accessory position. This guide turns those constraints into a repeatable shortlist.