
Backdrop workflow
Green Screen Backdrop Setup: From Room to Clean Key
A clean chroma key starts before editing. Build enough coverage, reduce wrinkles and shadows, separate the subject, and test the actual camera and software early.
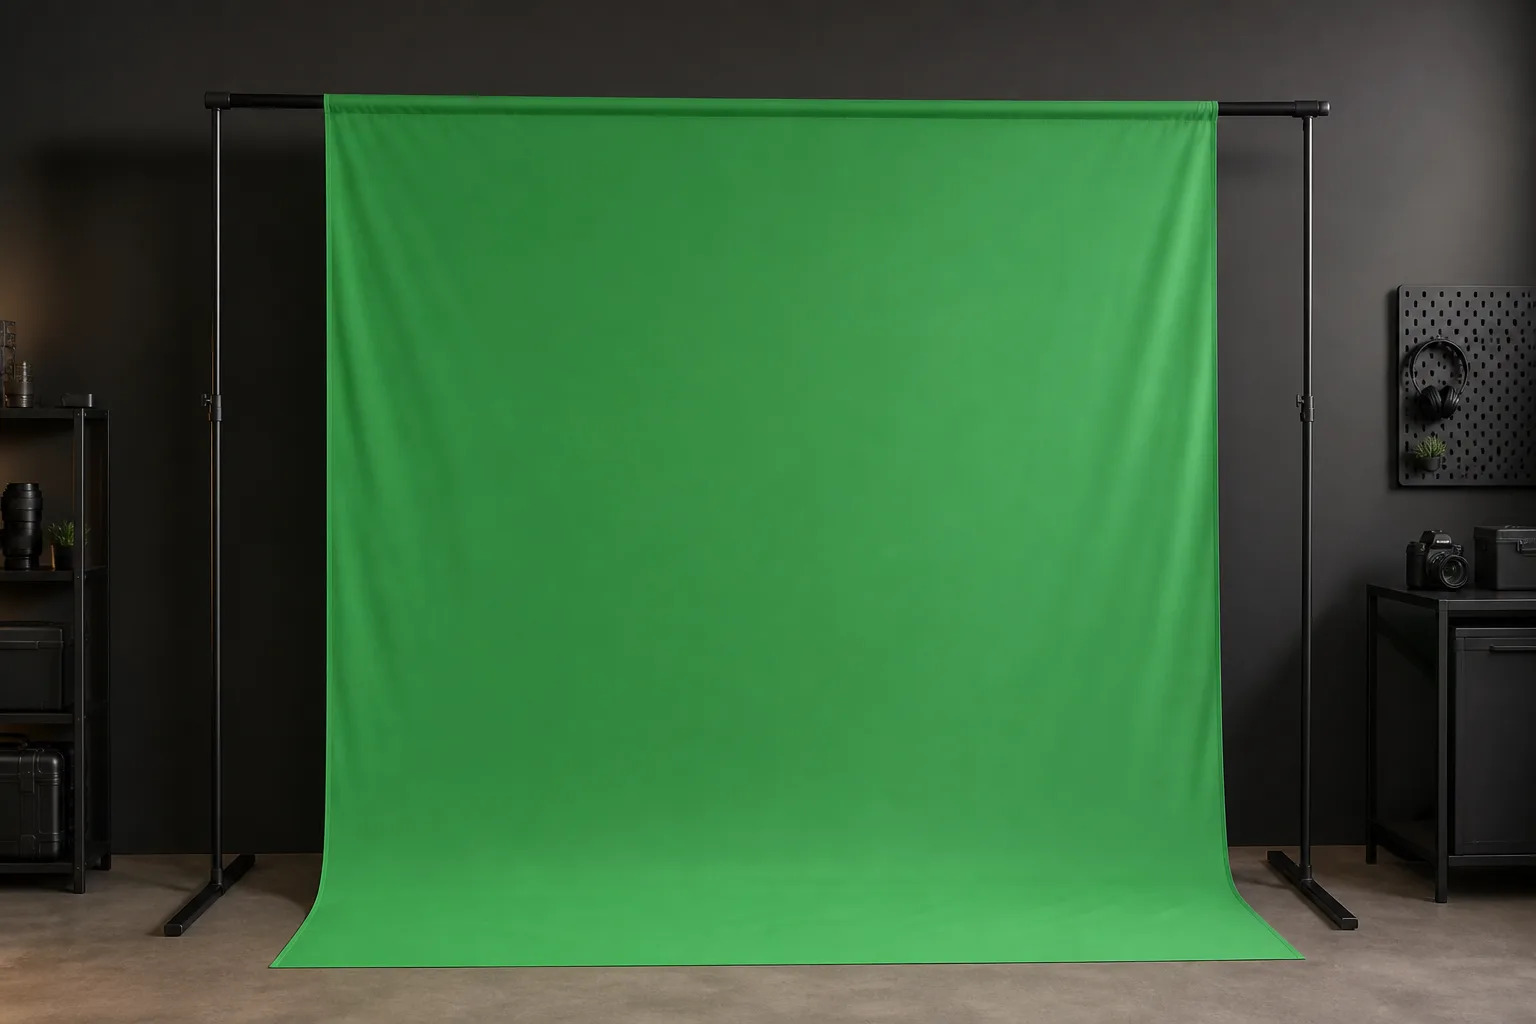
A green screen does not become easy to key because the cloth is green. The editor needs a background color that is sufficiently consistent and sufficiently different from the subject. Coverage, wrinkles, shadows, exposure, clothing, and reflected green light all affect that result.
The fastest workflow is to test the complete chain early: room, backdrop, subject, light, camera, and the actual keying software. A two-minute test before the full setup can reveal a missing corner, a deep fold, green clothing, or a camera setting that makes the background noisy.
Define the final frame and movement
Set the camera and final crop before opening the backdrop. Decide whether the shot is head-and-shoulders, seated, waist-up, or full body. Then rehearse the widest subject movement and any object that enters the frame.
The green area must cover every background pixel that the key is expected to remove. If the subject raises an arm beyond the screen or the camera stabilization reveals an uncovered edge, the editor will need additional masking or a tighter crop.
Mark:
- the camera position and field of view;
- the subject’s nearest and farthest positions;
- the top, bottom, and side edges of required coverage;
- any chair, table, microphone, or product that moves;
- the floor area needed by the support and operator.
Do not size the backdrop from a product title alone. The current LOMTAP green screen kit is identified in its marketplace title as a 4.6 × 6 ft format, but current listing details and the delivered dimensions should be confirmed before the room is planned around that number.
Build a smooth, controlled background
Open the support and backdrop according to the supplied instructions. Keep the stand footprint inside a protected equipment zone and outside the subject’s movement.
Reduce folds and deep wrinkles using only methods appropriate for the exact material. Adobe’s official green-screen guide notes that wrinkles create shadows that make keying harder. Do not apply heat, steam, clamps, tape, or cleaning products unless the backdrop instructions permit them.
Look at the screen from the camera position. A fold that seems minor from the side may create a dark stripe in the recorded image. Also inspect the edges, crossbar, and lower area that will appear around a seated subject.
If the screen is smaller than the desired frame, change the composition rather than stretching the material or building an unstable extension. A clean tighter shot is easier to key than a wide shot with uncovered corners.
Separate the subject from the screen
Distance helps control both shadows and green spill. When a subject stands very close to the backdrop, the key light can cast a defined shadow and green light can reflect onto skin, hair, clothing, or a product.
Move the subject forward until the background shadow and spill become manageable within the available room. The exact distance depends on screen size, light placement, lens, subject, and framing; there is no universal number.
Check fine edges such as hair, translucent materials, reflective surfaces, glasses, and metallic products. These areas show spill and uneven keying quickly. If the product itself is green or contains colors close to the backdrop, consider a different background color or a non-keyed workflow.
Light the backdrop for consistency
Evaluate the green screen separately from the subject. The goal is not the brightest possible green. It is a consistent, usable background exposure without large hot spots, dark corners, or sharp shadows.
If the room and equipment allow, position background lighting so it covers the visible green area evenly. Keep the source and stands outside the frame and subject path. Review the camera image, because human vision can overlook differences that keying software detects.
Use the camera’s exposure aids if available. Avoid raising exposure until the backdrop clips or loses useful color separation. A noisy underexposed background can also make edges unstable. The appropriate level depends on the camera and software, so use a test key rather than a memorized meter value.
Light the subject as a separate layer
Once the background is consistent, light the subject for the scene they will enter. A replacement background with light from one direction will look unconvincing if the subject is lit from the opposite direction.
The LOMTAP creator video lighting kit is one current continuous-light catalog option for a small creator setup. Confirm its current settings, included accessories, and operating guidance on the current listing and supplied instructions, then build the setup from the controls present on the delivered unit.
Watch for subject-light spill onto the green screen. Rotating or moving the light, changing subject distance, or controlling the beam may improve separation. Do not add more output automatically; every source affects both layers of the set.
Lock camera settings for the test
Use the same camera, lens, framing, resolution, frame rate, and compression planned for the final recording. A clean key from a still image does not guarantee the same edge quality during motion.
Set and record:
- Exposure settings.
- White-balance method and value.
- Focus mode and subject mark.
- Picture profile or color mode.
- Recording resolution and frame rate.
- Any stabilization or crop that changes coverage.
Avoid automatic changes that visibly shift the background during the take unless they are essential to the camera workflow. A stable capture makes the sampled key color and edge refinement more predictable.
Pull a test key before the full recording
Import a short clip into the software that will be used for production. Adobe Premiere’s Ultra Key documentation starts by sampling the key color and then refining the matte and spill controls. OBS offers a Chroma Key filter for a live workflow. Use the official instructions for the current version of the chosen tool.
Test more than a static pose. Include:
- the subject turning their head;
- hands moving near the frame edge;
- hair and clothing movement;
- a product entering and leaving the shot;
- the widest planned body position;
- a few seconds with no subject for background inspection.
View the matte or transparency result as well as the composited image. A replacement background can hide small defects that become obvious over a different scene.
Diagnose the setup in a useful order
When the key is rough, avoid changing every control at once.
| Symptom | Check on set first |
|---|---|
| Missing corners | Camera crop, stabilization, movement, and backdrop coverage |
| Dark bands in the key | Folds, shadows, and background-light consistency |
| Green edge on the subject | Subject distance, reflected green, and light direction |
| Transparent clothing or product areas | Color similarity between subject and backdrop |
| Noisy or crawling edge | Background exposure, camera noise, focus, and compression |
| Hard subject shadow | Subject distance and light placement |
Adjust one cause, record another short clip, and repeat the key. Software cleanup is valuable, but it is faster when the captured background is already controlled.
Save a reproducible green-screen plan
Photograph the full room from behind the camera and from one side. Record backdrop position, subject mark, light positions, camera settings, and software preset as starting points. Include the final frame so another person can see how much green coverage is actually required.
Before every session, check the support, surface, backdrop condition, camera crop, subject clothing, and test key. A clean green-screen workflow is a chain of modest controls. When each link is repeatable, post-production begins with a usable matte instead of a rescue job.
Related equipment

LOMTAP · Backdrops & Support
4.6 × 6 ft Green Screen KitT-shaped stand · Chroma green
See current price on Amazon.
Check on Amazon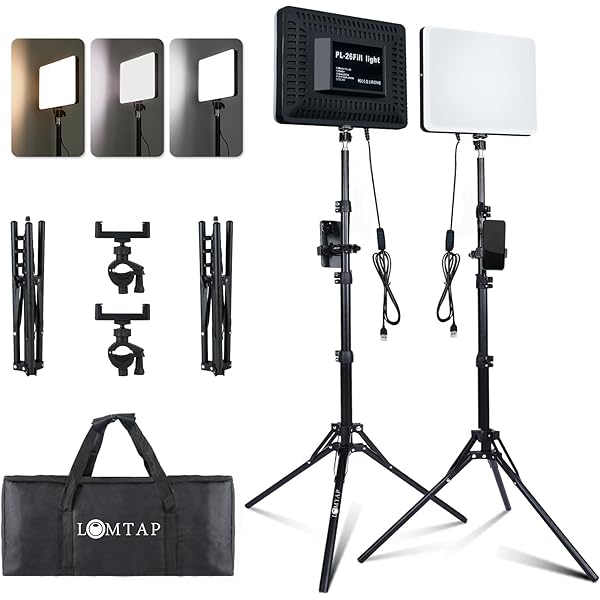
LOMTAP · Continuous Lighting
Creator Video Lighting Kit6.5 ft stand · Phone holder · Carry bag
See current price on Amazon.
Check on AmazonContinue reading
Back to all guides
Lighting setup
Small-Room Video Lighting: A Practical One-Light Plan
A small room rarely needs more gear first. Start with the frame and one controllable key light, then solve contrast, background, color, and movement in order.
Studio workflow
C-Stand Setup Checklist for a Cleaner, Safer Set
A repeatable C-stand setup is a sequence, not a last-minute tightening pass. Work through the room, stand, accessory, and cable checks in order.
Lighting setup
Plan a Wall-Mounted Ring Light Studio Setup
A wall-mounted light can return floor space, but it turns placement into a lasting decision. Map the frame, wall, movement, reach, and cable before drilling.